Firestick MentorFirestick Mentor
    What's Hot

    How to Get Dedicated IP in the UK

    March 12, 2024

    How to Get Dedicated IP in India

    March 12, 2024

    A Comprehensive Guide to Obtaining a Dedicated IP in the US

    March 8, 2024
    • Privacy Policy
    • Contact Us
    Facebook YouTube
    Firestick MentorFirestick Mentor
    • Sports Movies & Shows
    • Channels Apps & IPTV
    • Tips & Tricks
    • VPN
    Firestick MentorFirestick Mentor
    Home » Tips Tricks & Features » Enabling Developer Options on Chromecast with Google TV
    Tips Tricks & Features

    Enabling Developer Options on Chromecast with Google TV

    Bilal KhalidBy Bilal KhalidApril 14, 2023Updated:December 1, 2023No Comments5 Mins Read
    Google TV Developer Options
    Google TV Developer Options
    Facebook Twitter LinkedIn Email

    Chromecast is a dongle that fits into the HDMI port of your television and enables users to wirelessly stream content from their mobile or computer devices to their television. 

    All well-known streaming services, such as Netflix, HBO Max, Apple TV +, Disney+, Prime Video, and others, are supported. No matter what device you’re using, Chromecast’s setup is intended to be quick and straightforward. 

    Google TV Developer Options

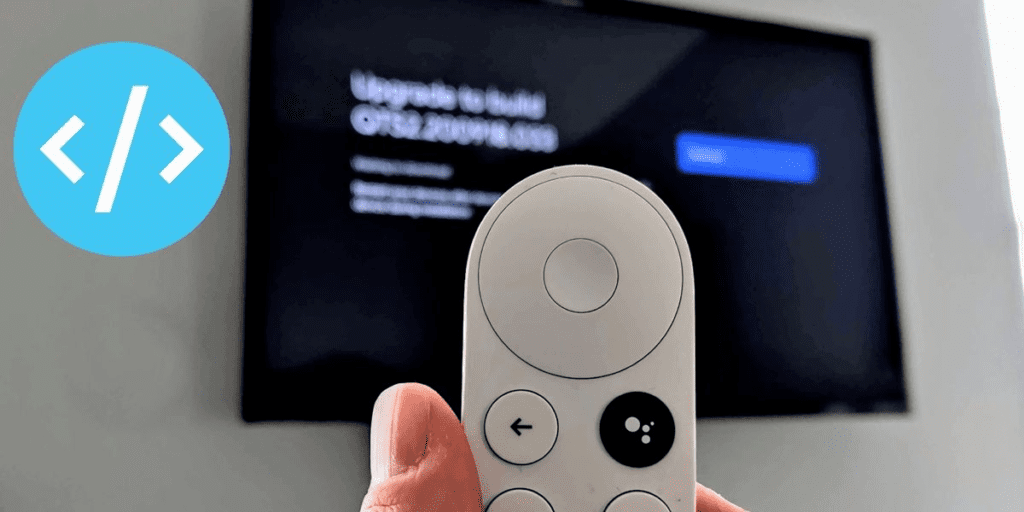
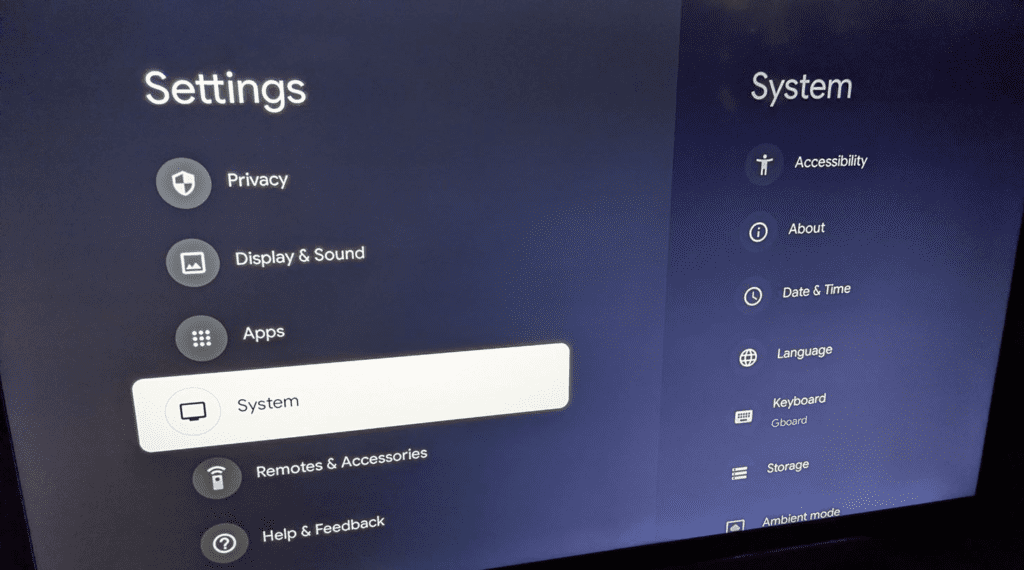
    If you ensure you have everything you need beforehand, the setup can be completed in less than 10 minutes. By using the developer options in Chromecast with Google TV, you can access some of the more advanced characteristics of Android TV, such as sideloading apps straight through ADB commands. However, the use of ExpressVPN is a must.

    Why Enable Developer Options?

    Developer Mode in Android devices allows you admin-level customization and system changes. There are numerous advanced functions accessible that are not available by default. You can modify the streaming device to suit your requirements once you can access Google TV’s Developer Mode. 

    You can access USB Debugging, Networking, installing a custom ROM, speeding up animations, and many other features via the developer settings on Chromecast with Google TV. But remember that only use the Developer Mode if you know how to do so. 

    Due to the potential for severe data loss or even irreparable device damage, some of the Developer settings are only intended for Developers and Debuggers. Avoid tampering with the Developer Menu because it may cause instability or potential risks if used improperly.

    Step-by-step guide: Enabling developer options in Chromecast with Google TV

    It is very simple to enable the developer options on Google TV. You can discover developer tools comparable to your Android smartphone because Google TV is based on Android OS. You have to follow these simple steps to enable developer options on Chromecast with Google TV. But, it is strongly recommended that only advanced users use these developer options to avoid inconvenience. 

    Follow these steps:

    • Click on the icon of your profile in the upper-right corner of the Google TV home page to access your profile.
    • Navigate to and choose the Settings menu item.
    • Select the System choice from the Settings menu.
    • Pick About from the System option.
    • Go to the Android TV OS Build field on the About screen.
    • Now you need to tap on the Android TV OS Build seven times continuously. There cannot be a pause between two taps; they must be continuous.
    • A pop-up on the TV screen reads, “You are now a developer.“
    • You can sideload applications onto Google TV after turning on the Developer options.
    • Select Settings from Google TV’s interface.
    • Pick the Developer Mode feature under the System option.
    • The developer settings option should be turned on. All the developer tools are now available on your Google TV.

    What you can do with Developer Options on Google TV

    Developers can use Chromecast with Google TV’s developer options to try apps and other experimental features. Running ADB (Android Debug Bridge) commands is the most frequently used feature of the developer options in Chromecast with Google TV. 

    Many users sideload apps and copy files or software using ADB commands. It is the easiest method for sideloading apps to Chromecast using Google TV. The developer options allow you to try or modify the dongle’s functionality. 

    For Google TV, you can also create a bug report. Another choice exists to stop Google TV from shutting off automatically. You can also view your Google TV’s Bluetooth connections and modify the picture mode. These features and many others will be available only if you enable the developer options.

    Frequently Asked Questions

    • What are developer options in Chromecast with Google TV?

      Developer options are not available by default; they must be enabled first. Some developer options include Bug Report, Stay Awake, Picture Color Mode, USB Debugging, Revoke USB Debugging authorizations, Select mock location app, Enable view attribute inspection, Select debug app, Verify apps for USB, etc. 

    • How can I enable developer options on my Chromecast with Google TV?

      Enabling the developer options on Chromecast with Google TV is very simple. You have to go to your profile, settings, system, About, Android TV OS build field, and then tap seven times without any pause. 

      A pop-up will appear informing you that you are now a developer. You can again go to settings, then system, then click on developer mode and turn it on. You are now ready to use the advanced developer options.

    • Can I customize my Chromecast with Google TV using developer options?

      Yes, you can customize your Chromecast with Google TV using developer options. But it is recommended that advanced users only use these developer options because they can cause instability and cause serious harm to your streaming experience. 

    Conclusion

    Your Google TV developer options will let you use various advanced functions, including bug reporting, USB debugging, networking opportunities like wireless display certification, and more. You can also customize your profile with whatever features you desire. 

    However, you should avoid changing an option that could lead to system failure. You should consider deactivating this option once you’ve finished exploring or making the desired adjustments since it is not intended for regular users.

    Bilal Khalid

    Related Posts

    Firestick Error Code P-49999: Causes and Solutions

    Tips Tricks & Features

    Decoding Firestick Error Code 401: Causes and Fixes

    Tips Tricks & Features

    Demystifying Firestick Error Code ITV-101: Troubleshooting Guide

    Tips Tricks & Features

    Firestick Error Code 5001: Resolve connectivity Issues

    Tips Tricks & Features
    Recent Posts
    • How to Get Dedicated IP in the UK
    • How to Get Dedicated IP in India
    • A Comprehensive Guide to Obtaining a Dedicated IP in the US
    • Setup Linksys Wireless Router with DedicatedIP Address
    • Setting Up a Dedicated IP Address on Netgear XR500

    We talk about almost everything around Amazon Fire Stick. Be it Apps, How to guides, Sports, Troubleshooting, latest news.

    Disclaimer: We may earn affiliate commissions if you decide to purchase through our links. For more details read our Ownership Disclosure.

    Facebook YouTube
    Latest Posts

    How to Get Dedicated IP in the UK

    March 12, 2024

    How to Get Dedicated IP in India

    March 12, 2024

    A Comprehensive Guide to Obtaining a Dedicated IP in the US

    March 8, 2024
    Explore by category
    • Channels Apps & IPTV
    • Dedicated IP
    • News
    • Sports Movies & Shows
    • Tips Tricks & Features
    • uncategorized

    Type above and press Enter to search. Press Esc to cancel.