
The Netgear XR500 router offers robust features, including the ability to assign dedicated IP addresses to devices on your network. In this detailed guide, we’ll walk you through the process of setting up a dedicated IP address on a Netgear XR500 router, empowering you to take charge of your network configuration with confidence.
Understanding Dedicated IP Addresses: Why They Matter
Before diving into the setup process, let’s briefly discuss the significance of dedicated IP addresses in network management. A dedicated IP address is an IP address assigned to a specific device on a network, ensuring that the device always receives the same IP address whenever it connects. This can be beneficial for various purposes, such as:
- Network Stability: By assigning dedicated IP addresses, you can ensure consistent connectivity for critical devices on your network, minimizing potential disruptions.
- Port Forwarding: Dedicated IP addresses make it easier to set up port forwarding rules for specific devices, allowing you to access services hosted on those devices from outside your network.
- Quality of Service (QoS) Management: With dedicated IP addresses, you can prioritize traffic from certain devices or services, optimizing network performance for essential applications.
- Security: By knowing the IP addresses of trusted devices, you can implement more granular security measures, such as access control lists (ACLs) or firewall rules.
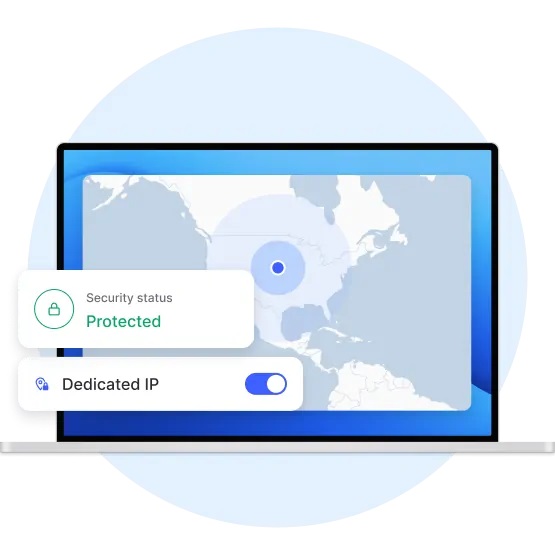
The right VPN with Dedicated IP
-
PureVPN
Focuses on security and privacy, with a network spanning numerous countries. Their dedicated IP service includes features like static IPs and port forwarding.
-
NordVPN
Offers a wide range of server locations, strong security features, and a user-friendly interface. Their dedicated IP service comes with an additional cost, but they are a reliable and well-established provider.
-
Surfshark
Provides unlimited simultaneous connections, strong security features, and budget-friendly plans. Their dedicated IP option is competitively priced and offers good value for money.
-
CyberGhost
Offers a large server network, user-friendly apps, and a focus on ease of use. Their dedicated IP service is competitively priced and offers a good balance of features and cost.
-
IPVanish
Provides strong security features, a large server network, and an emphasis on user privacy. Their dedicated IP service comes with additional benefits like multiple simultaneous connections.

Setting Up a Dedicated IP Address on Netgear XR500: Step-by-Step Guide
Now, let’s delve into the process of setting up a dedicated IP address on your Netgear XR500 router:
- Access Router Settings:
- Open a web browser on a device connected to your XR500 router’s network.
- Enter the router’s IP address into the address bar. The default IP address is usually “192.168.1.1” or “192.168.0.1”.
- Log in to your router’s admin panel using the username and password.
- Navigate to DHCP Reservation Settings:
- Once logged in, navigate to the “Advanced” or “Advanced Settings” section of the router’s admin panel.
- Look for a menu option related to DHCP settings or LAN setup.
- Find the DHCP Reservation or Address Reservation section.
- Add a DHCP Reservation:
- In the DHCP Reservation section, you’ll see a list of devices connected to your network.
- Select the device for which you want to assign a dedicated IP address from the list.
- Click on the option to add a new reservation or edit the existing reservation.
- Configure DHCP Reservation:
- Enter the MAC address of the device. You can usually find this information in the device’s network settings.
- Specify the desired IP address you want to assign to the device. Ensure that the IP address falls within the router’s DHCP range and is not already in use.
- Optionally, you can enter a name or description for the device to identify it more easily.
- Save Settings:
- After entering the necessary information, save your settings by clicking an “Apply” or “Save” button.
- The router will apply the changes, and the device will now have a dedicated IP address whenever it connects to the network.
- Restart the Router:
- Turn the power off for your router.
- Wait for 15 seconds and then restart the Router. Then connect any device with your Router and check on “whatismyip.com” with your Dedicated IP
Empowering Network Management with Dedicated IP Addresses
Setting up a dedicated IP address on your Netgear XR500 router empowers you to take control of your network configuration and optimize performance, security, and access to services. By following the steps outlined in this guide, you can effectively assign dedicated IP addresses to devices on your network, ensuring stability, reliability, and seamless connectivity for all your networked devices. With this newfound knowledge, you’ll be well-equipped to master network management and unlock the full potential of your Netgear XR500 router.