
Neptune Rising is a popular Kodi add-on that allows you to stream movies and TV shows on your FireStick device. It’s always a good idea to stay updated on the latest add-on options and ensure you’re using reputable sources for information and add-on downloads. Follow this guide to install Neptune risings on FireStick.
Neptune Rising has a user-friendly interface with 1080p and HD-quality movies and TV shows. You will first have to install the Kodi app on your FireStick to get the Neptune Rising Kodi addon. If you don’t have the Kodi app installed, follow this guide and learn how to install Kodi and the Neptune Rising Kodi addon on FireStick:
How to Install the Neptune Rising Kodi addon on FireStick
Before installing the addon on Kodi, you will first have to permit Kodi to install addons from unknown sources. Follow the steps below to get Neptune Rising on your FireStick:
Step 1: Launch your FireStick.
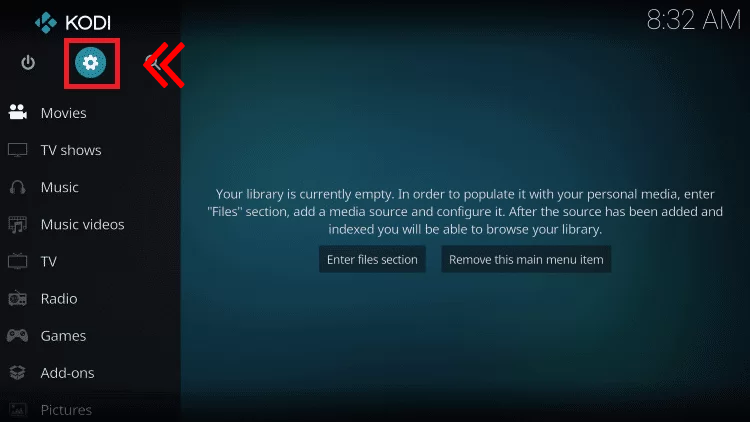
Step 2: Open the Kodi app and go to the Settings icon in the sidebar on the left side of the screen.
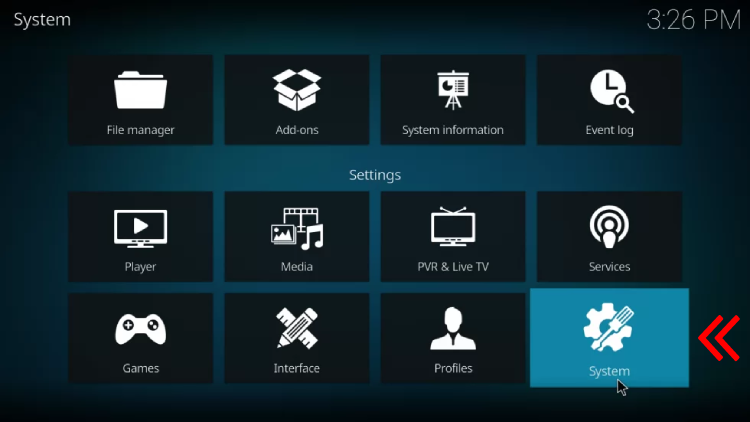
Step 3: Under Settings, select the System option.
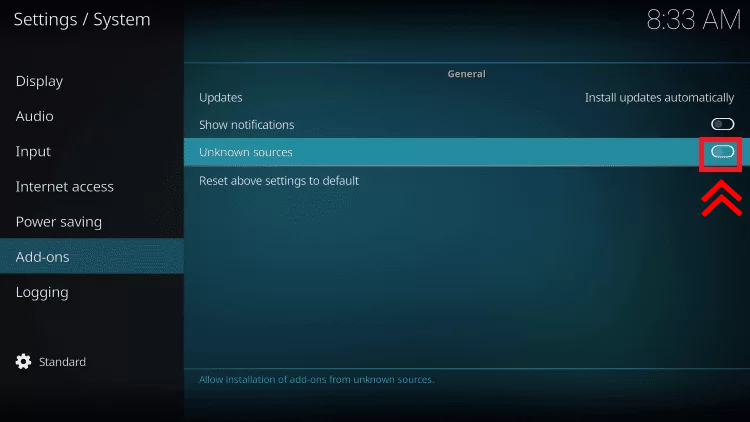
Step 4: Now, select the Add-ons menu from the sidebar.
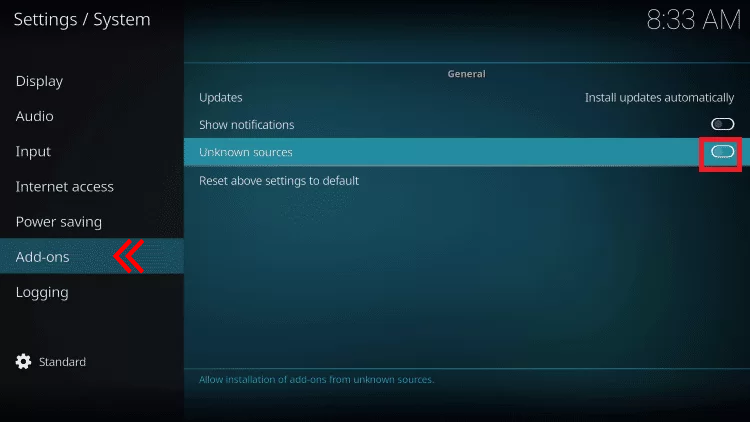
Step 5: Scroll down and click on the Unknown sources option to turn it on. Once it’s on, go back to your Kodi home page.
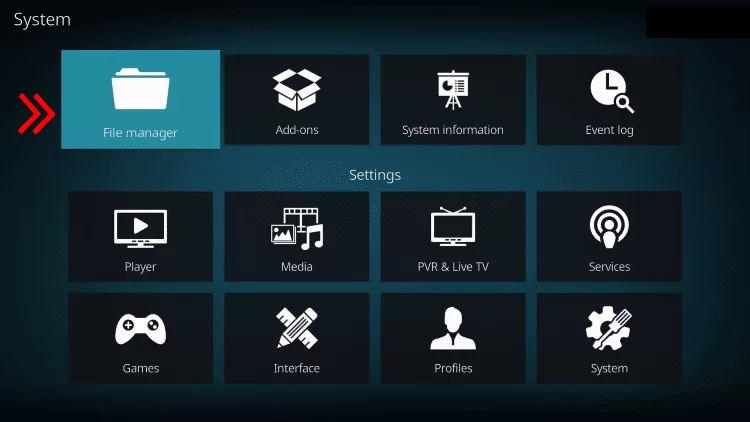
Step 6: Select the Settings icon again and Next, click the File Manager option
Step 7: Choose the Add Source title and double-click on it.
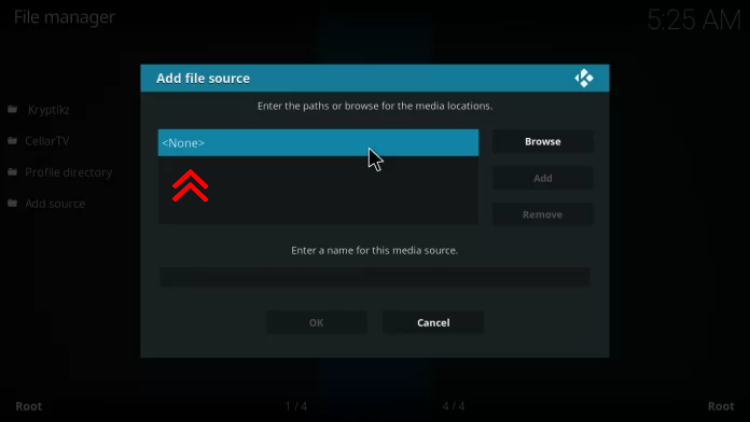
Step 8: Once it opens a pop-up menu, select <None> and enter the following URL in the URL text box: http://legionworldtv.com/zips/.
Step 9: You will see another text box indicating you to enter a name for this media source, type freeworld in the box and select OK.
Step 10: Now, go back to the Kodi home page.
Step 11: Click on the Add-ons menu from the sidebar again.
Step 12: Select the open box icon on the left side of the screen under ‘Add-ons.’
Step 13: Scroll down and click on the Install from zip file option. Next, select the name of the media source you just created (freeworld).
Step 14: Click on repository.mrfreeworld.zip and install the MR FREEWORLD add-on on Kodi.
Step 15: Once the add-on is installed, click on Install from repository above the Install from zip file option.
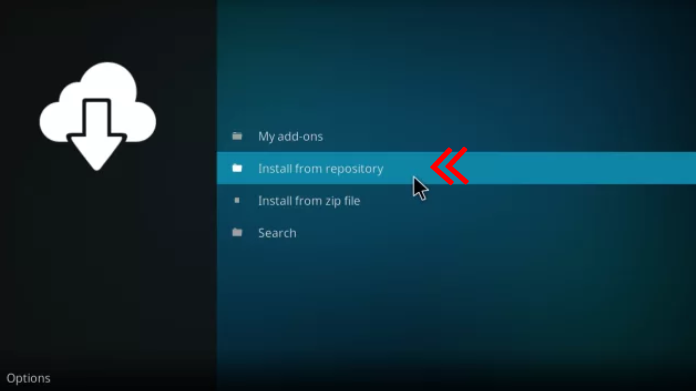
Step 16: Now, select MR FREEWORLD and open it.
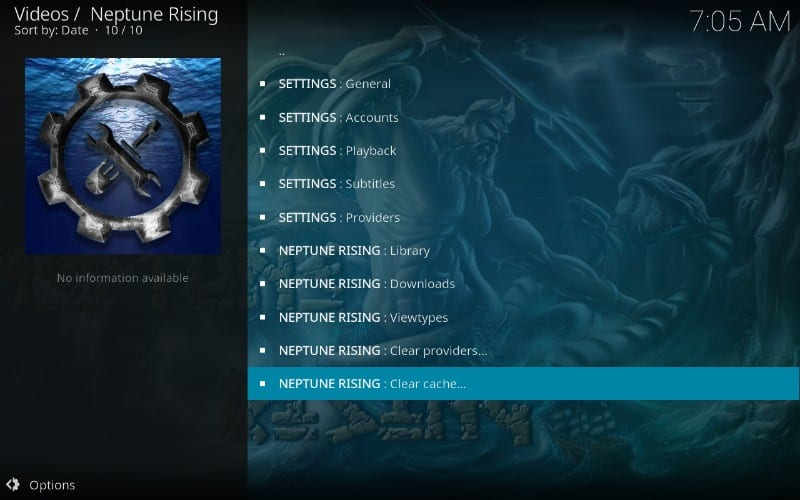
Step 17: Click on the Video add-ons folder and select the Neptune Rising add-on from the list.
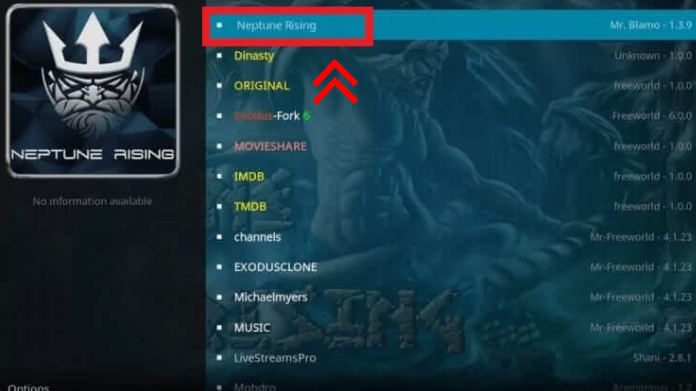
Step 18: Now select the Install option from the bottom right of the screen and wait for the add-on to install.
Step 19: A pop-up message will appear, indicating that the installation is completed. Click OK to proceed.

Step 20: The Neptune Rising Kodi add-on is installed and ready to use on your FireStick.
How to Install Neptune Rising Kodi Add-on using Blamo Repository
Follow the step-by-step procedure given below to install Neptune Rising on Kodi 17.6 Krypton using Blamo Repository:
- Launch your FireStick and open the Kodi app.
- Navigate to the Settings icon and select the Add-ons menu from the sidebar.
- Now turn on the Unknown Sources option as directed above.
- Go back to the System page on Kodi.
- Select the File manager icon from the sidebar and double-click on the Add Source option.
- Type the following URL in the URL text box: http://repo.mrblamo.xyz/.
- Click Done.
- Type the name Blamo in the name box and click Done. Now select the OK button.
- Go back to your Kodi home screen and select the System menu again.
- You will see a menu labeled Plugins. Click on it. Now select the Install Zip File option and choose the name of the media source you just created.
- Now select Blamo.zip to install the Kodi add-on.
- Once the add-on is installed, select the Install from repository option and then click on Blamo Repository.
- Select the Video Add-ons folder and click on the Neptune Rising add-on from the list.
- Click on the Install option at the bottom and wait for the add-on to install.
- Once the add-on is installed, select OK on the pop-up message that appears on your screen.
- The Neptune Rising Kodi add-on will be installed on your FireStick and ready to use.
Best VPN for FireStick
Actually using a VPN with Kodi on FireStick is indeed a good practice for several reasons. It helps protect your online privacy and security by encrypting your internet connection and hiding your IP address. Additionally, a VPN can help bypass geo-restrictions and access content that might be blocked in your region.
ExpressVPN is a popular choice and widely regarded as one of the best VPNs for FireStick. It offers a user-friendly interface, strong encryption, and a vast network of servers in numerous countries. ExpressVPN also provides fast and reliable connection speeds, which is essential for streaming content on Kodi.
Here’s a step-by-step guide on how to use ExpressVPN with Kodi on FireStick:
- Subscribe to ExpressVPN and create an account.
- Install the ExpressVPN app on your FireStick device from the Amazon Appstore.
- Sign in using your credentials.
- Connect to a server of your choice. It’s recommended to select a server location that is close to your actual location for better performance.
- Once connected, minimise the ExpressVPN app but do not close it.
- Return to the FireStick home screen and launch the Kodi app.
- Enjoy using Kodi with the added security and benefits of the VPN.
Remember to keep the ExpressVPN app running in the background whenever you use Kodi on FireStick to ensure your connection remains protected.
Frequently Asked Questions
Is the Neptune Rising Kodi add-on available on FireStick?
Yes, you can install the Neptune Rising Kodi add-on on your FireStick using the methods provided in this article.
Is the Kodi app available on FireStick for free?
Yes, the Kodi app is available for free for users. However, the Kodi app isn’t available on the Amazon App Store, and therefore, it needs to be sideloaded through other apps like Downloader.
Can I stream movies and TV shows using Neptune Rising?
Yes, Neptune Rising is perfect for streaming movies and TV shows. It provides high-quality streaming links for users. The Neptune Rising Kodi add-on is ideal for movie and tv show addicts.